Your child was recently evaluated for occupational therapy. When reading over the report you noticed delays in overall grasping skills. You may be wondering, what does this mean? And what grasp are we looking for?
We will first discuss the progress of grasp on objects such as blocks and small items like a Cheerio or a bead. And then move towards the progress of a child’s grasp on a writing utensil.
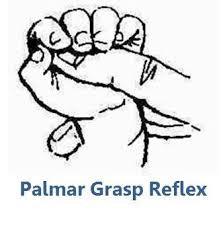
The most primitive grasp you will see is the palmar grasp reflex.
Palmar Grasp Reflex – A palmar grasp reflex is when a baby immediately wraps all fingers around your finger, or an object placed in his/her palm. This reflex will integrate (go away) around 4 months of age. At this time, your child should begin to demonstrate a voluntary grasp to pick up different sized objects.
(Usually Emerges in Early Infancy)
The following progression is noted by Jane Case-Smith an occupational therapist and a leading educator in pediatric occupational therapy as well as The Erhardt Developmental Prehension Assessment.
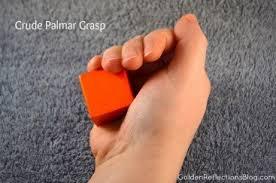
Ulnar-Palmar Grasp (Crude Palmar Grasp) – The index finger and Thumb are not used in this pattern.
(Usually Emerges Around 4-6 Months of Age.)
Palmar Grasp – Using the central portion of the palm to pick up objects from a flat surface. This grasp does not involve use of the thumb.
(Usually Emerges Around 4-6 Months of Age.)

Radial Palmar Grasp – your child should begin to use his/her thumb while picking up objects from a surface. When first adding the help of the thumb to grasp objects, there will be no open space between the object your child is grasping and his/her palm or “web space”.
(Usually Emerges between 6-7 months of age.)
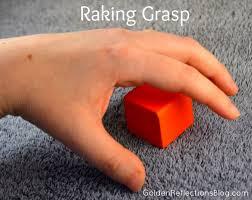
Raking grasp – This is when your baby will attempt to pick up objects on her own using a “raking” method. You’ll see her reach out and move her arm in a raking motion to try to pull it closer and grab. She’ll usually spread out her fingers and contract them to close around the object, strengthening her muscles with each movement.
(Usually Emerges Around 7 Months of Age.)
Radial Digital Grasp/Three Jaw Chuck – This is the first grasp where more precise finger movements are required and utilized. Your child will begin to pick up objects with fingertips, rather than the whole hand, which leads into the very important, pincer grasp (see below).
(Usually Emerges Around 8-9 Months of Age.)
Inferior pincer grasp – Child will begin to pick up small objects with thumb and index finger only. Initially, your child will only be able to use this grasp with his/her arm supported on the table/surface and will use the side of their index finger and a straight thumb to pick up objects.
(Usually Emerges Around 9 Months of Age)
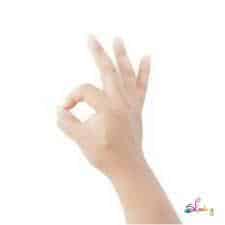
Mature/Dynamic Pincer Grasp – When the mature pincer grasp is developed, you will notice your child picking up small objects with the tips of thumb and index finger, while holding the forearm off of the surface.
(Usually Emerges Around 12 Months of Age)
Writing Utensil Grasping Patterns
(Info Based off of Jane Case-Smith)
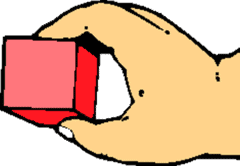
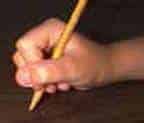
Palmar Supinated/Gross Fisted Grasp — The toddler will use their whole hand as one unit, wrapping all of their fingers around the writing utensil with their thumb positioned at the top of the crayon and their pinkie towards the paper. They are still working on “proximal stability” and so they move the writing utensil with large arm movement originating from the shoulder.
(Usually Emerges Around 1-2 Years of Age)
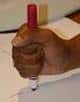
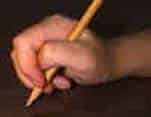
Radial/Digital Pronated Grasp – As they begin to have more finger isolation, they will begin using the thumb functionally for prehension grasping. In this grasp pattern, the arm is turned slightly inward (pronated) and the crayon is positioned under the palm. The tip of the writing utensil is held by a straight index finger and adducted thumb. Again, most movement is from the arm.
(Usually Emerges Around 2-3 Years of Age)

Static Tripod Grasp – With this grasp you will begin to see the child is beginning to have more control of the writing utensil. They appear to have better separation of the two parts of the hand, and they use the thumb side for movement and the pinkie side for strength. It is this time, you will begin to see an opening of the thumb webspace, and the use of the thumb, index and middle finger to control the writing utensil. The child should be able to stabilize at the shoulder, rest the forearm on the table, and movement should be coming from the wrist, or fingers.
(Usually Emerges Around 3 ½ Years of Age.)

Dynamic Tripod Grasp – A mature prehension grasp pattern which will allow your child to make smooth, colored strokes for coloring, tracing, drawing and printing. You will notice a nice, round open webspace. The index finger PIP and DIP joints and the thumb’s IP joint will be slightly bent. The writing utensil rests on the side of the DIP joint on the middle finger and most of the movement comes from the fingers.
(Usually Emerges Around 5 Years of Age)

Insufficient Grasping Patterns
(Info from AnOTMom)
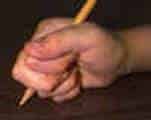
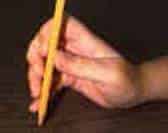
The Thumb Wrap – The thumb wrap is one of the most common inefficient grasp patterns. One of the main reasons it’s problematic is because the fingers are in a position where they actually block part of the visual field. It is very difficult to see where and what you are writing with this grasp. Also, the index and middle fingers are stabilizing the writing utensil instead of moving it. As a result, movement comes from the wrist or arm, which leads to large strokes that lack control and precision.
The Thumb Tuck – The thumb tuck is a variation of the thumb wrap, where instead of wrapping the thumb around the fingers/writing utensil, it is tucked in the fingers. Once again, the fingers and the thumb are stabilizing the writing utensil rather than moving it. Movement is distal, decreased control and precision.
The Interdigital Brace – The index finger and middle fingers are wrapped between the middle and ring fingers. The thumb closes on the top of the fingers. The position significantly limits the visual field. This pattern also requires a lot of bigger muscle movements for the forearm and wrist, resulting in increased fatigue. Typically, a child with an interdigital brace, will use heavy pressure in an attempt to gain control of the strokes. While the grasp can be considered “functional,” it is rare; and typically, a child cannot write for long periods of time and cannot write as quickly as needed.
The Supinated Grasp – The supinated grasp is becoming more and more prevalent. Why? Many believe this is due to video games. Game controllers like PlayStation and XBOX position a child in a “supinated” position, where their forearm is turned outward. There is no need for finger isolation, so they are used as one unit to hold the controller. When the child goes to hold a writing utensil, they resort to this position, using the pink side of the hand to guide the writing utensil. As a result, they do not have good control, and they tend to use very light pressure with jagged, sloppy writing strokes.
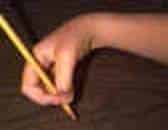
The Index (5 Fingered) Grasp – The index grasp is another interesting grasp. The index finger is positioned high on the writing utensil and the DIP joint is looped around it to stabilize it. The top of the writing utensil is positioned near the top of the ring and/or pinkie fingers and the thumb and DIP tends to be straightened. Movement comes from the wrist, and the child tends to use light pressure.
How Can I Help Improve My Child’s Grasp?
There are many ways you can help improve your child’s grasp. First and foremost, practice! Talk to your child’s OT and determine what your child is working towards. Have them show you how you can practice the skill with your child, and practice, practice, practice!
You can also try some hand strengthening activities. Some great ones that you probably have laying around the house are building with lego’s, playing with Play-Doh, or playing with a squishy ball in one hand.
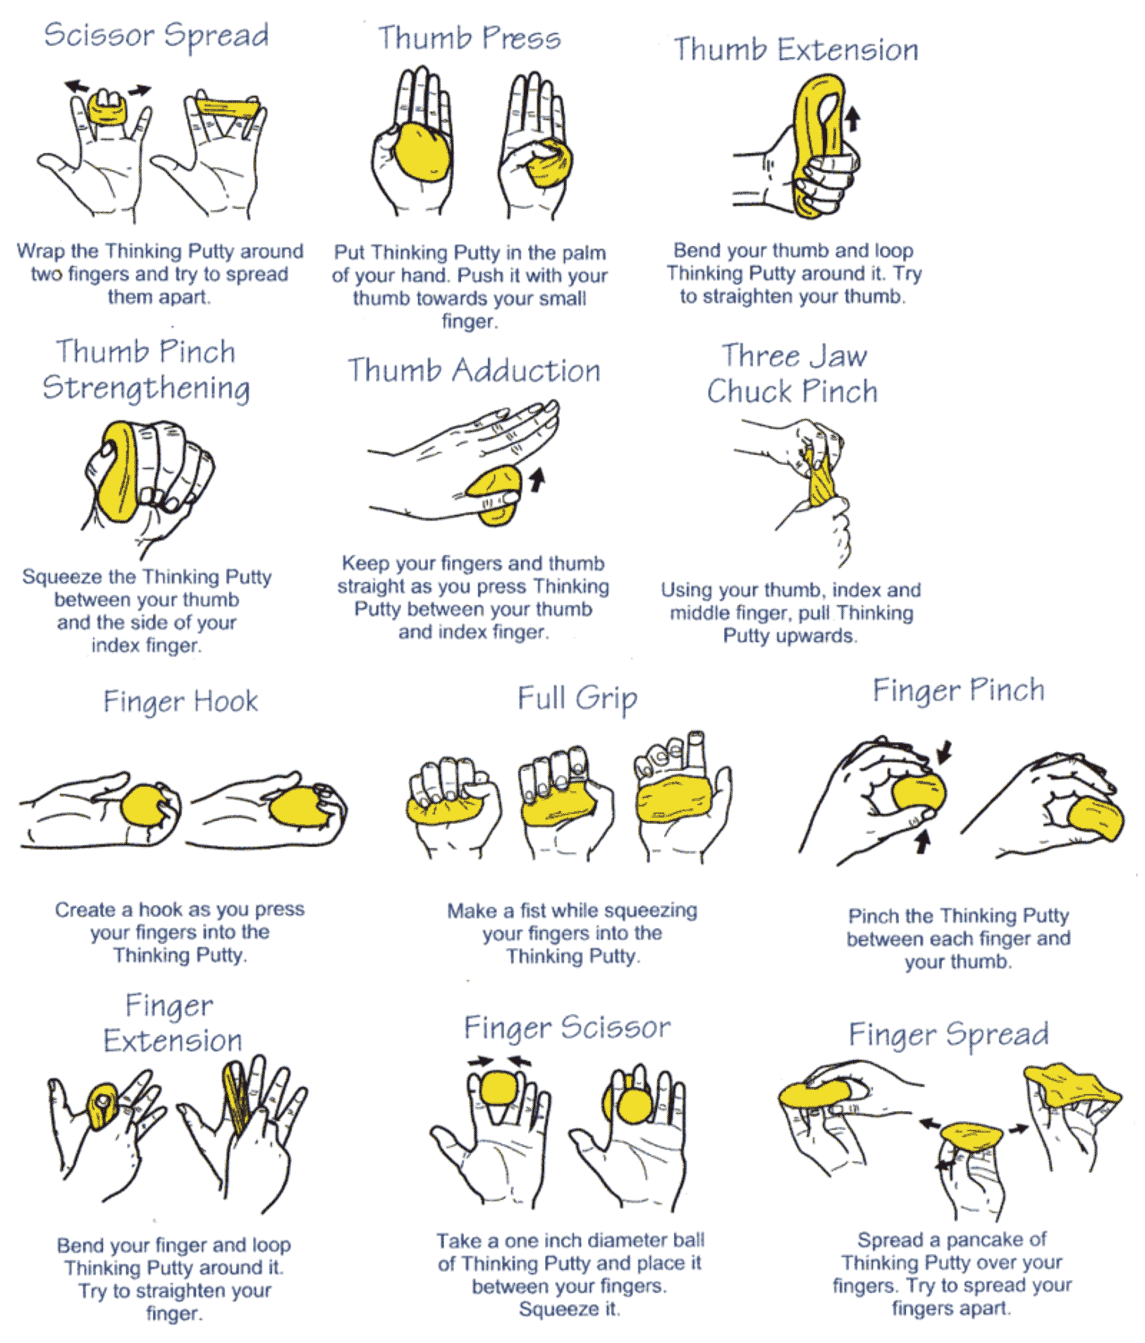
Another great activity is thera-putty exercises. Some of the exercises are pictured below. Talk with your child’s OT to determine the best level of strength of thera-putty before buying and talk with them about which specific exercises your child can work on.
Please reach out to your child occupational therapist with any further questions!